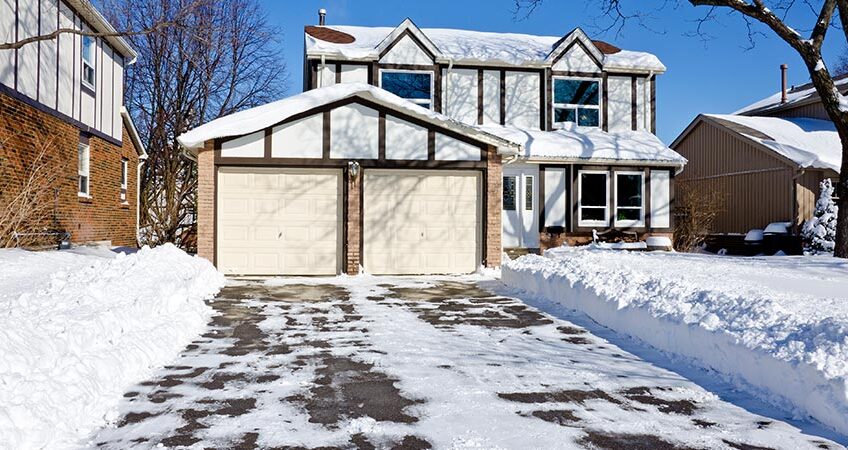
Many kids sit at the window, watching falling snow, dreaming of all the fun they’ll have sledding, making snowmen, or throwing snowballs. As adults, most of us sit at the window, dreaming of heated driveways or snow that would shovel itself.
Fear not. We’ve put together a shortlist to make sure you have everything you need to combat the woes of winter walkways. Check out tips for removing snow and ice from around your home.
Don’t Wait
This is something we can’t stress enough. Many people will wait until the snow has finished falling, because they think, “Why do the job more than once?” While we understand that logic, you’ll only be making your shoveling duties more difficult.
If you’re able to clear a lighter batch of snow a few times over the course of a day, rather than all at once, you’ll be saving your body from a heavy load of work.
In many cities, snow must be cleared from public sidewalks in a certain amount of time. Otherwise, the authorities could find you. For instance, in Pittsburgh, you have 24 hours to clear your sidewalks and driveways after a snowfall.
Using a snowblower
If you have a snowblower, go too slow and you won’t get much distance with your arc of blowing snow. Speed up and the snow could spill out the side of your machine. Experiment until you find the optimal speed.
Your clearing techniques should vary based on how your property is laid out. In general, you don’t want to throw snow on top of pavement you’ve already cleared. The snow that’s thrown from your blower will pack down and stick to the pavement and become harder to remove.
The best method for driveways that have clearance on both sides is to start in the middle and throw the snow toward one edge of the driveway. Make a U-turn then come back down the other side. Keep alternating. This way you won’t have to adjust the chute as often and any snow that falls short will be cleared on subsequent passes. Ideally, you won’t need a second pass.
If your house abuts the driveway, start on the side closest to the house. That way you won’t be throwing snow onto pavement you’ve already cleared.
Snow shoveling
With shoveling, you’ve got two choices. Shovel after every few inches of snow that falls or wait until the storm ends and remove the snow in layers. Remove only as much snow as you’re comfortable lifting.
It is recommended to clear your driveway in two stages. First push the snow to the edges with a pusher shovel, such as #8 in the graphic below. Then use a garden variety shovel with sides, like #2, to shovel what’s left out of the way. Your best bet may be a versatile shovel configured for throwing, lifting, and pushing, like #1. If you have uneven pavement, an all-plastic shovel without a steel edge is less likely to catch.
Snow-Blower Tips
Do you have a large area to clear? Use a snowblower if possible. Make sure that there’s at least an inch and a half of accumulation first. Otherwise, it might not be an effective way to move the snow.
Before starting your snowblower, spray the chute with silicone to keep snow from sticking or jamming the opening. Also, when you’re finished snow blowing, let your machine run for an extra minute or two to dry out.
Always be careful when using a snowblower and never attempt to clear a clogged chute while it is still running.
Prevent Slips and Falls – Clear Your Home of Snow and Ice
The best way to prevent slips and falls on your property is to be proactive with snow removal. Don’t wait until it’s piled up. Make sure you keep your pathways clear for guests.
We hope you stay safe this winter, but – as always – if you’re ever injured in a slip and fall accident, call us for a free consultation. We’re available any time.
The right tools for the job
No matter what snow removal method you use, try to avoid driving or walking on the snow before you get started. Packed snow is harder to clear. And if the snow is sticking to the shovel or the snow blower’s shoot, spray either with silicone or, in a pinch, a cooking spray.
If You need help, Call Us or send a message.